Oh how the rehab bug has bit... Now that my first *real-ish* rehab has boosted my confidence, I've decided I'm going to fix all the bags I was too scared to touch before

(slowly but surely).
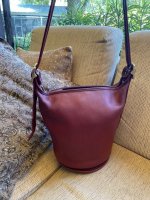
Still finishing up that Quincy bag I've been working on. I noticed that the edges felt kind of chalky after being painted, which is what I expected it to feel like due to the acrylic paint, but I conditioned it and it was nice and smooth again! I think I'm done with the corners even though one still seems to darken suspiciously whenever I condition the bag.. Looks fine dry, so I'm gonna leave it as is! It's currently drying from the... (lost track of number of CPR applications)... conditioning.
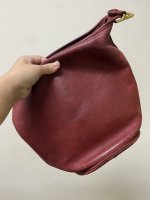
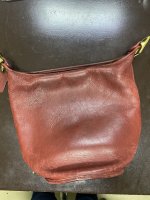
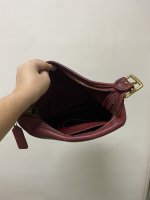
Also dunked 2 more bags last night and conditioned them. Waiting for them to dry so I can retouch their edges.
I've seen a lot of talk about horsehair brushes and buffing the bags.. I'm either not doing it right or it's a very subtle change, but I don't really see a difference.. All I am noticing is that horsehair gets stuck all over my bags

Do you guys wait for the bags to fully dry after conditioning to buff? Or do you rub in the conditioner with the brush?


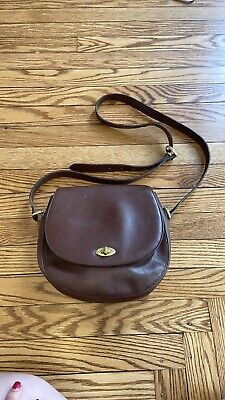
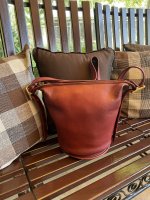
 what would you expert rehabbers recommend I do with this bag? Did you apply the saphir mixture to the entire bag or just the edges only?


