Please post any "before" and "after" pics with a quick explanation of what was done and who did it 
The thread for comments about the transformations is here:
 forum.purseblog.com
The thread for comments about the transformations is here:
Rejuventating, Repairing or Restoring Your Balenciaga
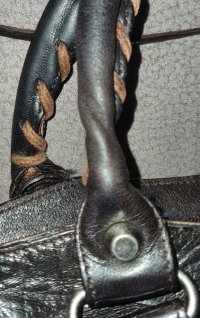
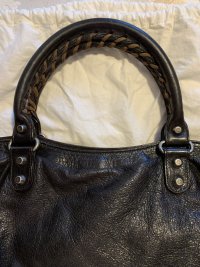
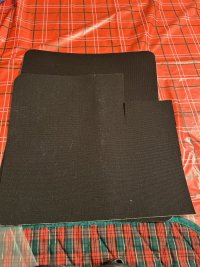
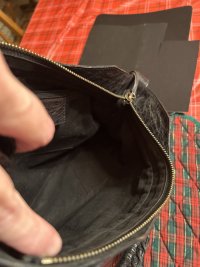
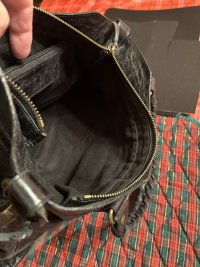
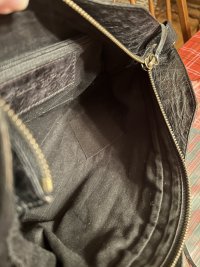
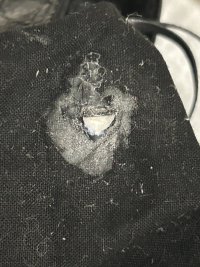
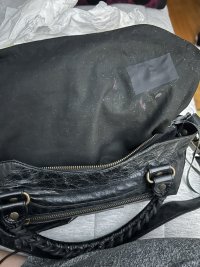
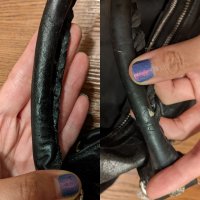
found a small rip in my new shrug. what should I do? should i try to exchange for a new one (though I'm sure shirise is totally sold out). Should I try to get more discount? HELP! :cry:
forum.purseblog.com
Last edited:


 )
)