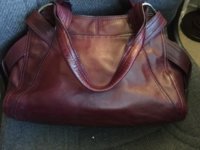
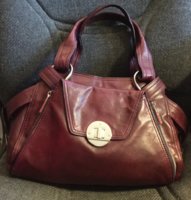
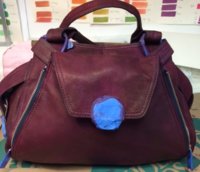
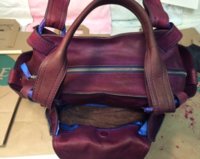
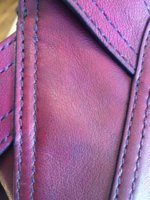
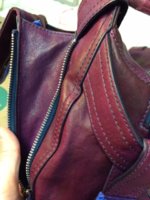
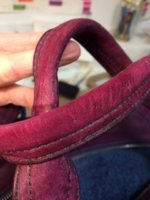
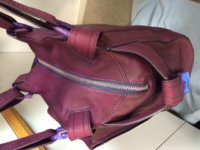
I just dyed a Kooba Riley from a light teal to a deep burgundy and wanted to share the results pretty dramatic! I am happy with it, especially since my Kooba had faded so much after only a few months that I couldnt use it (a rant for another thread!). Im very glad I did it, but it took a lot time, elbow grease and improvising and it was not nearly as straightforward as in other dyeing tutorials I read. I think my bag was a problem child because 1) the color was very uneven to start with, 2) I didnt dye it black, 3) none of the buckles or straps were removable, and 4) it has lots of seams and double top stitching that absorbed excess dye. But it can be done and I feel like a purse rehab superhero! Ive carried it a few times and havent had any color transfer.
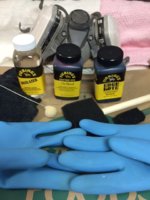
Ill post details and photos of the process over the next week or so, including links to other tPF dyeing tutorials, tips I found from leather worker forums, and what I learned along the way, so stay tuned! I took the time to document everything because I relied heavily on others experience and wanted to give back a little
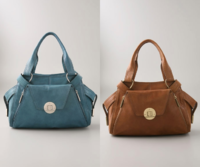
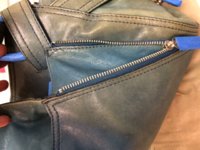
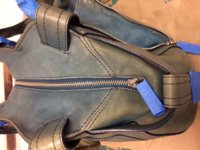
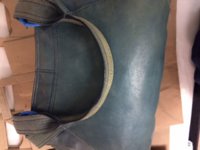
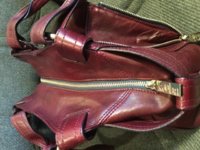
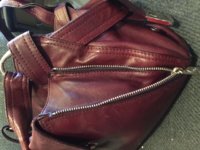
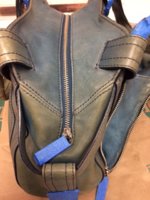
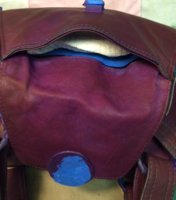
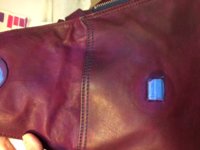
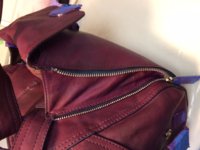
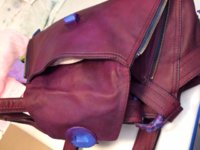
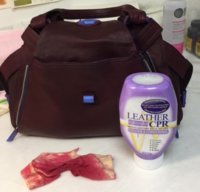
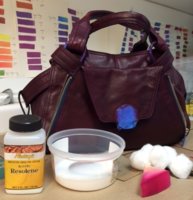
Here are some before pics - first one is courtesy of Thebagforum and what it looked like new (http://www.thebagforum.com/kooba-bags/10187-kooba-riley-bag.html). Blue painters tape in my pics is to protect hardware from dye.
Ill post details and photos of the process over the next week or so, including links to other tPF dyeing tutorials, tips I found from leather worker forums, and what I learned along the way, so stay tuned! I took the time to document everything because I relied heavily on others experience and wanted to give back a little
Here are some before pics - first one is courtesy of Thebagforum and what it looked like new (http://www.thebagforum.com/kooba-bags/10187-kooba-riley-bag.html). Blue painters tape in my pics is to protect hardware from dye.

 )
)


")