I notice there are so many wonderful nail artist out there, whether it's ombre, paintings, or simple nail techniques/ art, this should be a place to share your tutorials with the rest of us.
Let me start...Tutorial for my “Neon Skittles”.
Items:
nail polish (You can choose any 4 colors you like. I chose ChinaGlaze Neon Collection: Splish Splash, I’m With The Lifeguard, Hang Ten Toes, and Sun-kissed), a white nail polish as a base (I used #ChinaGlaze White On), acetone/ nail polish remover and some cosmetic Q-tips or a cuticle brush for cleanups, top coat, and a cosmetic/ dishwashing sponge.
Steps:
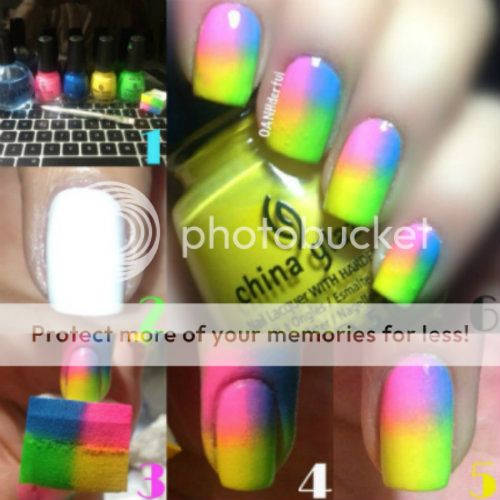
(1) Gather your supplies, and loosen bottle caps prior to starting.
(2) Prep your nails then paint a white base...wait for it to dry.
(3) Swipe 4 equal squares of nail polish to the sponge then lightly dab the center of sponge to the center of your nails. Do this for all nails.
(4) Continue to dab and make sure to cover the edges of the nail as you dab. Dab sponge on first nail, reapply nail polish, and then move on to the next nail and repeat the process. As you’re dabbing remember to lightly shift your sponge up, down, left, and right to reduce the lines that appears between the colors.
(5) Once you achieve the colors you like without any balding spots you can start to clean around the nails. To finish, apply a top coat.
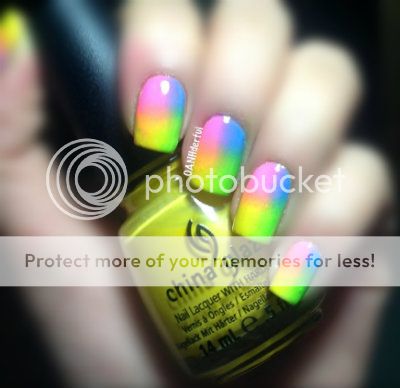
(6) Share! Remember if you don't get it right the first time, know that practice makes perfect!
Let me start...Tutorial for my “Neon Skittles”.
Items:
nail polish (You can choose any 4 colors you like. I chose ChinaGlaze Neon Collection: Splish Splash, I’m With The Lifeguard, Hang Ten Toes, and Sun-kissed), a white nail polish as a base (I used #ChinaGlaze White On), acetone/ nail polish remover and some cosmetic Q-tips or a cuticle brush for cleanups, top coat, and a cosmetic/ dishwashing sponge.
Steps:
(1) Gather your supplies, and loosen bottle caps prior to starting.
(2) Prep your nails then paint a white base...wait for it to dry.
(3) Swipe 4 equal squares of nail polish to the sponge then lightly dab the center of sponge to the center of your nails. Do this for all nails.
(4) Continue to dab and make sure to cover the edges of the nail as you dab. Dab sponge on first nail, reapply nail polish, and then move on to the next nail and repeat the process. As you’re dabbing remember to lightly shift your sponge up, down, left, and right to reduce the lines that appears between the colors.
(5) Once you achieve the colors you like without any balding spots you can start to clean around the nails. To finish, apply a top coat.
(6) Share! Remember if you don't get it right the first time, know that practice makes perfect!


")


